Are you in need of somewhere to store your fishing rods?
A rod rack will store them neatly and keep them out of the way.

Learn how to build your own rod rack with minimal materials down below!
How To Craft Your Own Fishing Rod Rack [VIDEO]
 Click here download the hole guide PDF
Click here to join the Insider Club
Materials
All the materials can be found at a Home Depot or any local hardware store.
The total cost should hover around $45-$50 for all the supplies.
You can use whichever wood type you want or whatever is cheapest.
It is crucial the two 1X3X36 planks and the 1X2X36 plank are all identical in length.
- Two 1X6X36 oak planks (You will cut that down to 25.5 inches in length)
- Two 1X3X36 oak planks
- One 1X2X36 oak plank
- Measuring tape
- Pencil
- 1 3/4 inch complete hole saw drill bit
- 1 1/4 inch basic wood screws
Measurements
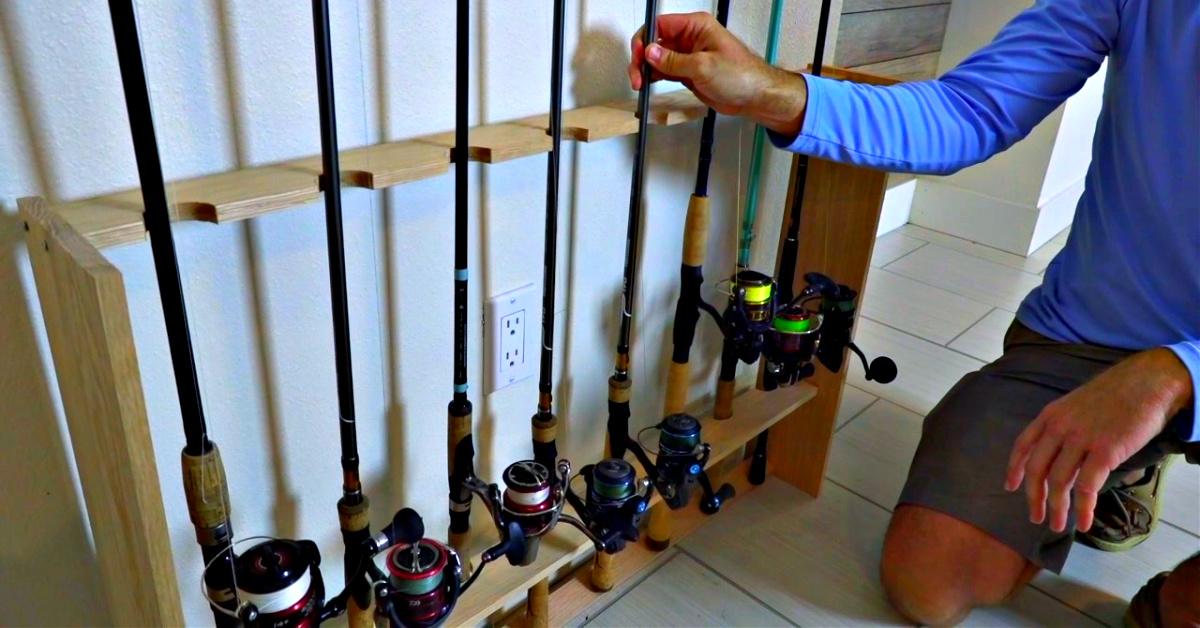
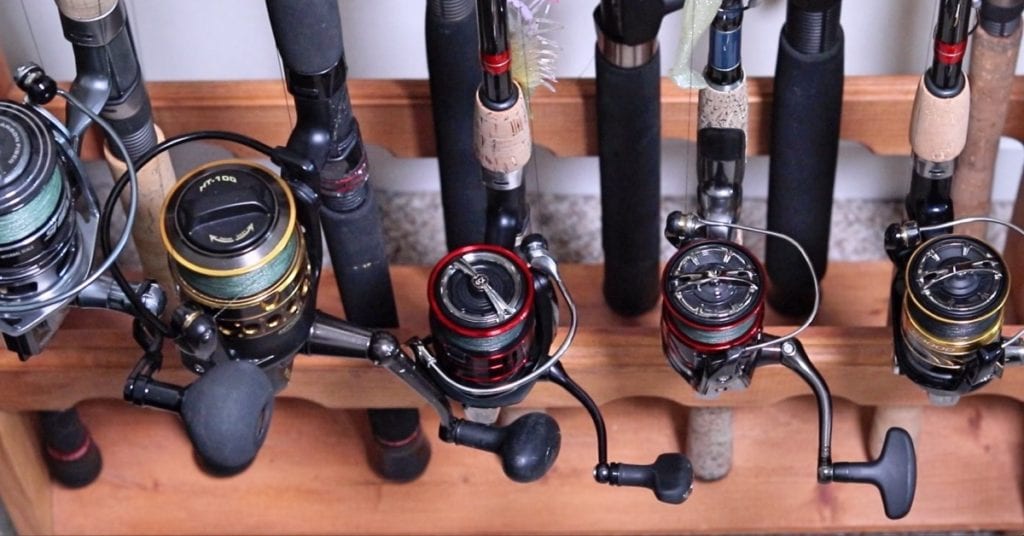
This fishing rod rack will hold eight rods but you can customize this to fit as many rods as you like.
You will make a mark on the 1X3X36 every 4.5 inches to indicate where each rod will be placed.
Place the two 1X3X36 planks next to each other when marking your measurements and also when drilling them to save time and cut both simultaneously.
Point the drill bit at your pencil marks on the wood and begin drilling the holes.
Make sure the planks are even and held firmly close to each other to avoid making any mistakes.
It is easiest to drill about halfway into the wood.
Then, continue drilling down the plank on your pencil marks in the same fashion.
Once all eight are about halfway cut on one side, flip the planks and finish drilling the holes on the other side.
If you have a clamp or help from a family member or friend to hold the planks it will help the planks sit firmly as you finish cutting them.
Continue cutting the remainder of the holes out along both planks.
On the inside of the 1X6X36 planks, you will make your measurements and drill holes to create space for a screw.
After that is complete, you will drill holes into each end of the 1X3X36 planks in order to assemble the rack.
The holes on the end of these planks should be about 1.5 inches apart.
Assembly
You can choose which plank you want on the top that will be facing out.
It can be easier to drill the screws into the 1X6X36 planks first so they are just poking out a little bit.
Then, line up the screws with the end of the planks and begin tightening the screws.
Repeat the process for the remainder of the planks.
Flip over and repeat this entire process with the other side to complete the assembly.
It can be easier to have a family member or friend assist with this final step.
Conclusion
The key to assembling your own wooden rod rack is getting the spacing of the measurements and screws correct.
This will ensure the rod stands vertical in the rack.
You can create a showpiece to display your rods as well as keep them neatly stored in your very own fishing rod rack!!
If you have any questions, please leave them below in the comments section!
And if you know someone who wants to know how to make a custom rod rack, please TAG or SHARE this with them!
P.S. Want access to our best fishing spots and tips, plus discounts to our online tackle store? Click here to join us in the Insider Club!
Related Articles:


Could 2by4s and 2by6s work instead
Awesome tip! I had some PVC “lumber” left over from a remodel and used those. Had to stiffen them up a bit but wound up with a nice way to keep a dozen or so rods off the floor and not leaning against a wall! Thanks Luke!
http://seahunter.net/pics/RodRack.jpg
Need some storage room! This idea helps
Thank you
Nice, thx for sharing!
Just finished. Great rod rack. Definitely add the tounge oil finish. Great share of a great design. Gonna mak3 more for xmas gifts. Might make some a c
bit smaller. Thanks Luke for a fun project.
Going to build one myself, as a touch of personality I plan to torch the wood slightly with a map gas torch. Then lightly sand. Should add a little pop to the grain of the wood. Maybe a little oil or sealer to shine it up. Been wanting to make one for quite some time, thanks for the push!
Awesome DIY rack, love the oak, looks very professional Luke. Now to add some Tung oil and let that puppy shine! I might have to make one with some scrap wood I have laying around. I want to leave a few tips for other members:
Great tips Matthew!
Luke I also missed seeing the link for the template. Can you send it our reattach it?
Here’s a link https://saltstrongdev.wpengine.com/wp-content/uploads/Rod-Rack-Hole-Guide.pdf
Thanks Luke! I am going to build one this weekend.
Cool! I hope you have fun building your rod rack.
Nice job! I recommend you drill pilot holes for the screws, and wood glue it and screw it for long term strength and longevity.
I would caution using glue and screws together as neither allow for wood flex. If this is placed somewhere other than inside the rise and fall of humidity could cause splits in time.
Thanks for the helpful tip Dennis!