Kayak Fishing Hack: How To Make A Kayak Livewell From An Old Cooler [VIDEO]
- By: Joseph Simonds
- on
- Found In: Fishing Tips, Inshore Fishing
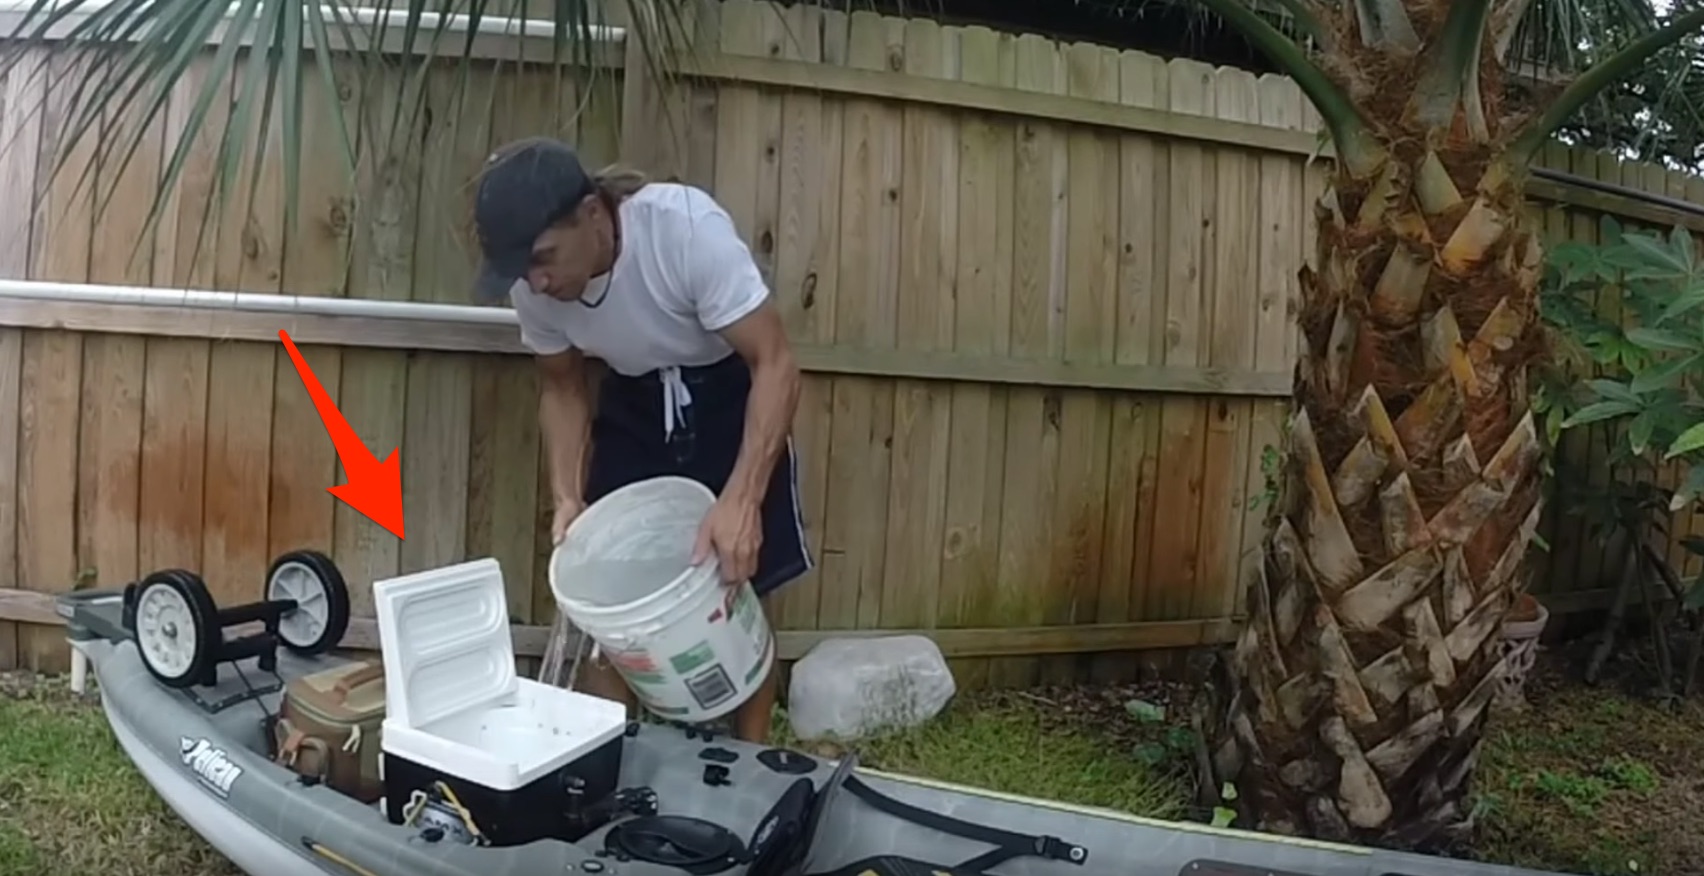
Have you ever wanted a livewell for your kayak but didn’t want to pay a crazy amount of money for one?
Then check out how our friend Marty Zoffinger made a DIY (do-it-yourself) livewell for his kayak. Brilliant!
Note: Make sure to go Subscribe to Zoffinger on YouTube here. His kayak fishing videos are amazing!
As you know, a kayak livewell or bait tank can do wonders in your fishing life if you like to fish with live bait, and there is nothing better than a DIY project (once it is complete and actually works).
Let’s dig in and see how Zoffinger makes his livewell from home.
Enjoy.
How to make your own kayak livewell or bait tank
1. Plan each move
Decide on the overall design first. You want something that is functional, that fits, and that won’t cause a lot of drag on your kayak.
Make sure you have the exact measurements of where you want your livewell to be, and then draft your layout or make a diagram to ensure accuracy and minimize if not totally get rid of the risks.
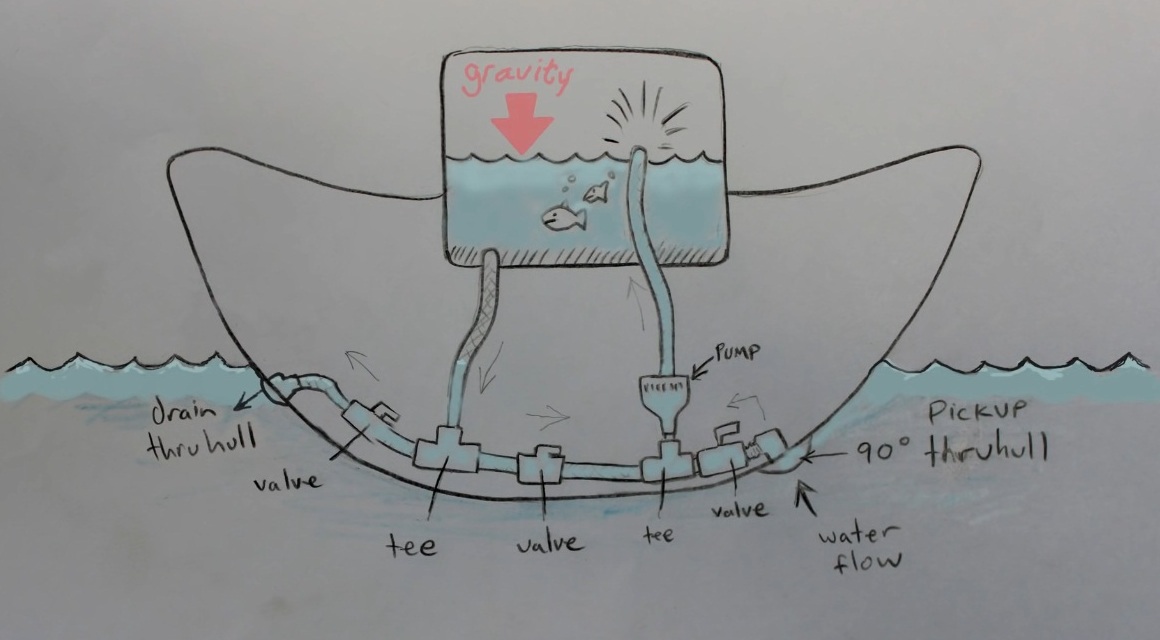
Here is Zoffinger’s diagram of what he intends to build.
2. Prepare what you need.
The next step is to get everything you will need to get your kayak livewell going, as well as all the things that have to be done.
Our fellow angler Marty Zoffinger, a kayak fishing enthusiast, and a certified DIY kayak gear maker, listed the things he used to make his DIY kayak livewell or bait tank in the video below:
- Tsunami 500 Recirq Livewell Aerator Kit
- 3/4 Reinforced Braided Vinyl Tubing
- Igloo 9-qt Cooler/Ice Chest (choose something that will surely fit your kayak)
- Autocraft Lithium Power Sport Battery (not the best – you may opt to use battery that you think can work )
- Forespar Marelon Thru-Hull fittings
- Various Plumbing Stuff from Lowes or other Home Improvement Stores
- L-Port Valve from Ebay
- An old Spackle Bucket
- 3M 5200 Marine Adhesive Sealant
- 100% Silicone Sealant
- An Old Lamp Cord
- Shrink Tubing
- Waterproof Spst Toggle Switch
- Tupperware Box (or any heavy duty lockable sealed water resistant plastic storage box) for the Battery
- Old Plexi-Glass Sheet
- Your Preferred Spray Paint (color and brand)
- Special Tools (Power Drill)
3. Get started.
Since everything is all set, all you need now is to put your brilliant ideas into action. Having the courage to drill holes in your favorite kayak may be really challenging (or perhaps, the most painful too — LOL). But as the cliché goes: NO GUTS, NO GLORY!
And let’s face it, if you want a livewell that sits in your kayak, you probably need some holes!
4. Drilling holes in the kayak.
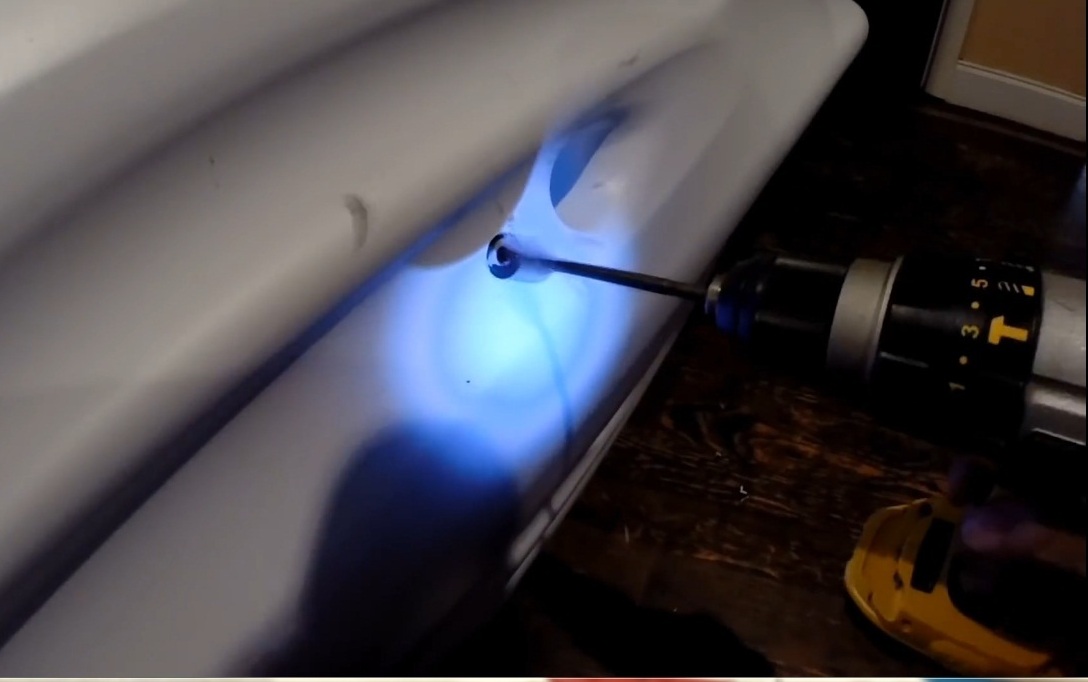
Drill two holes at the bottom of the kayak: one for the intake and another one for the exhaust as to where the water drains out (see 00:46-00:58 and 07:48-07:53 of the video to see the two thru hulls).
In the tutorial video, it was then said that the original drainage hull was above the water line, placed on the side of the kayak. But since Zoffinger doesn’t want to be disturbed by the noise of the water splashing out of the drain, he decided to lower it, submerged in the water.
He admitted though that at first it was really a “gamble” with the holes, fortunately for Zoffinger his idea worked great.
5. Assemble the bilge pump.
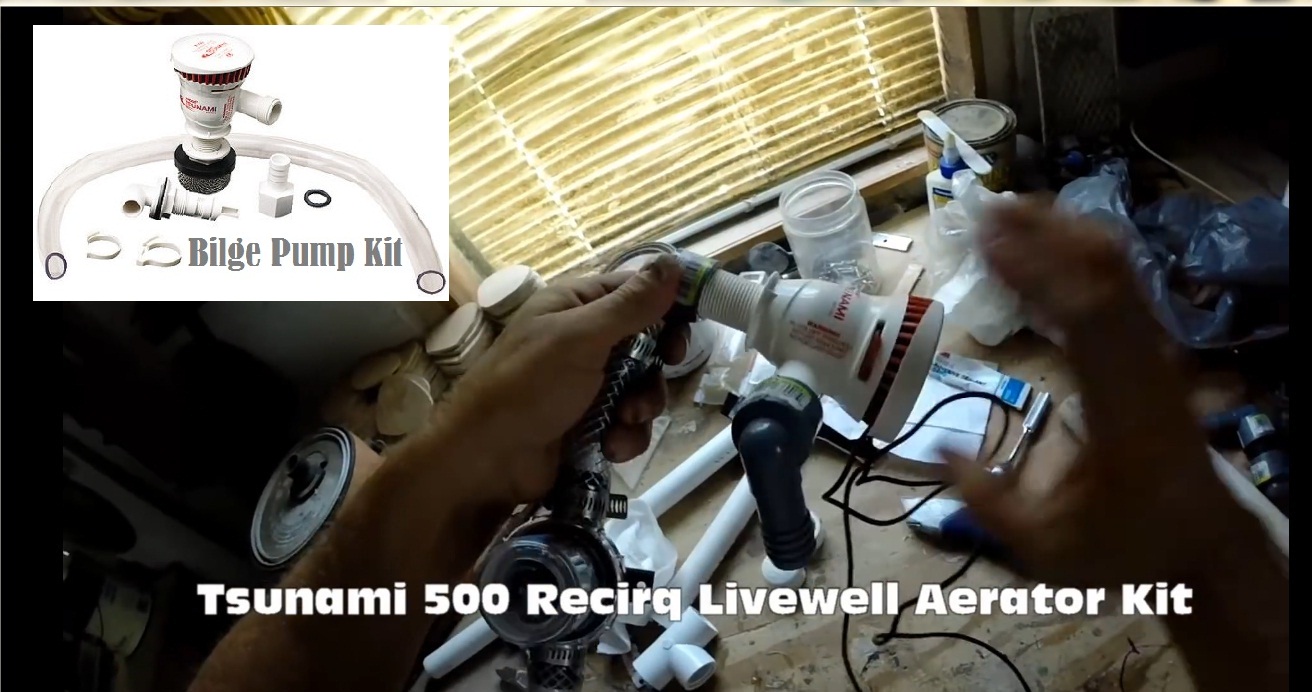
The Tsunami Recirq Kit recirculates livewell water to keep it cooler and supply enough oxygen. The handy kit includes:
(1) 500 GPH Tsunami aerator pump with short inlet, threaded outlet
(1) 4125-1 aerator spray head
(1) 4232-1 stainless steel strainer
(1) 2 plastic hose clamps
(1) 3/4″ diameter 23″ poly hose
(1) straight thread-to-barb connector
6. Install the assembled bilge pump accordingly.
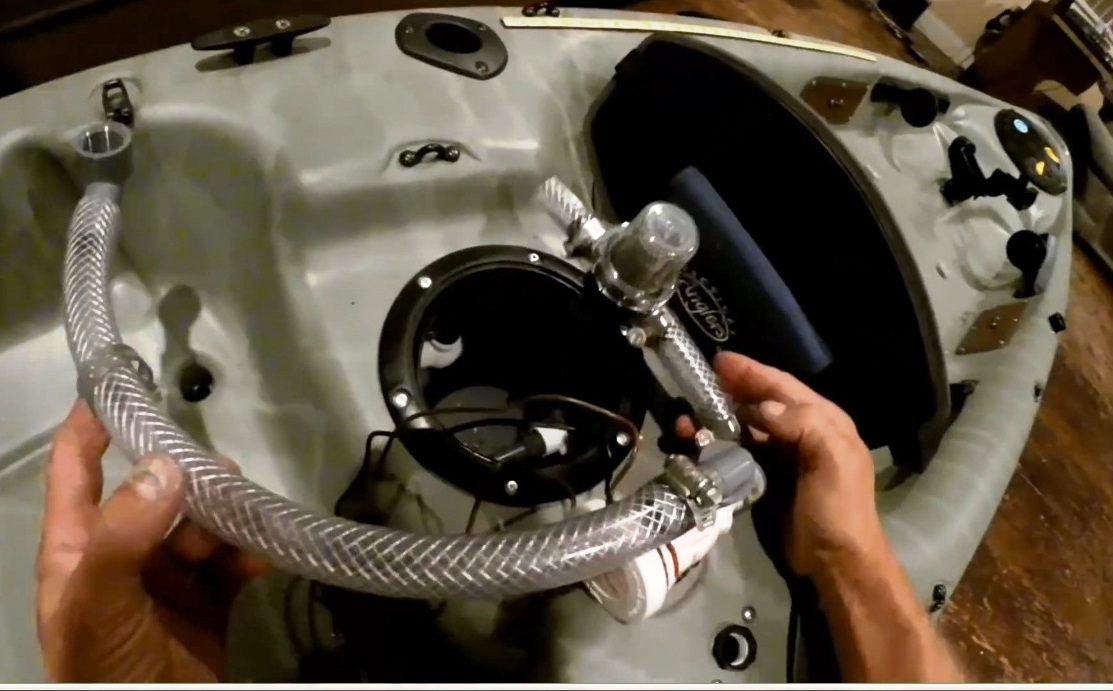
As the picture depicts, the plumbing and overall layouts and designs of your DIY livewell and bait tank depend on your kayak – its style and model.
We are just trying to figure out how the principle actually goes and how each hack (brilliant idea) works.
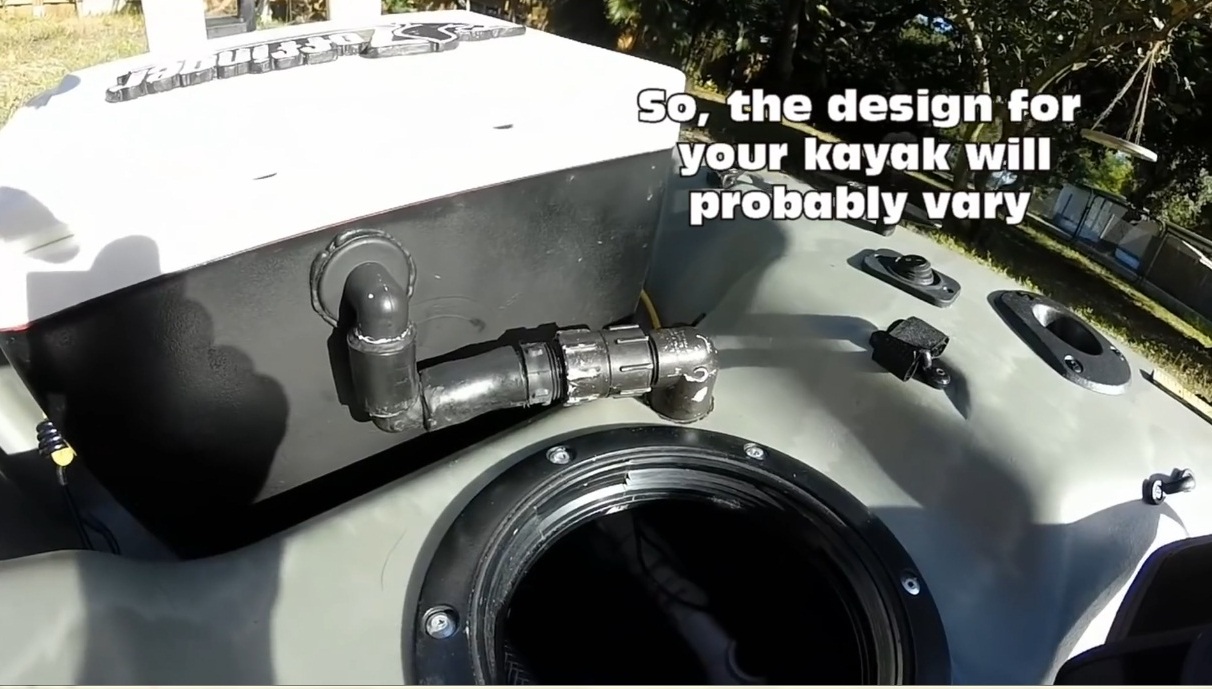
Important Tip: Be sure to check your plan and actual design from time to time… because usually what you have on the blueprint may NOT co-exist with the actual thing.
Zoffinger made it clear that it was a learning process and never easy. “It took a lot of doing and a lot of figuring because the space inside the kayak is very limited,” Marty shared.
Nevertheless, he’s really glad it all worked.
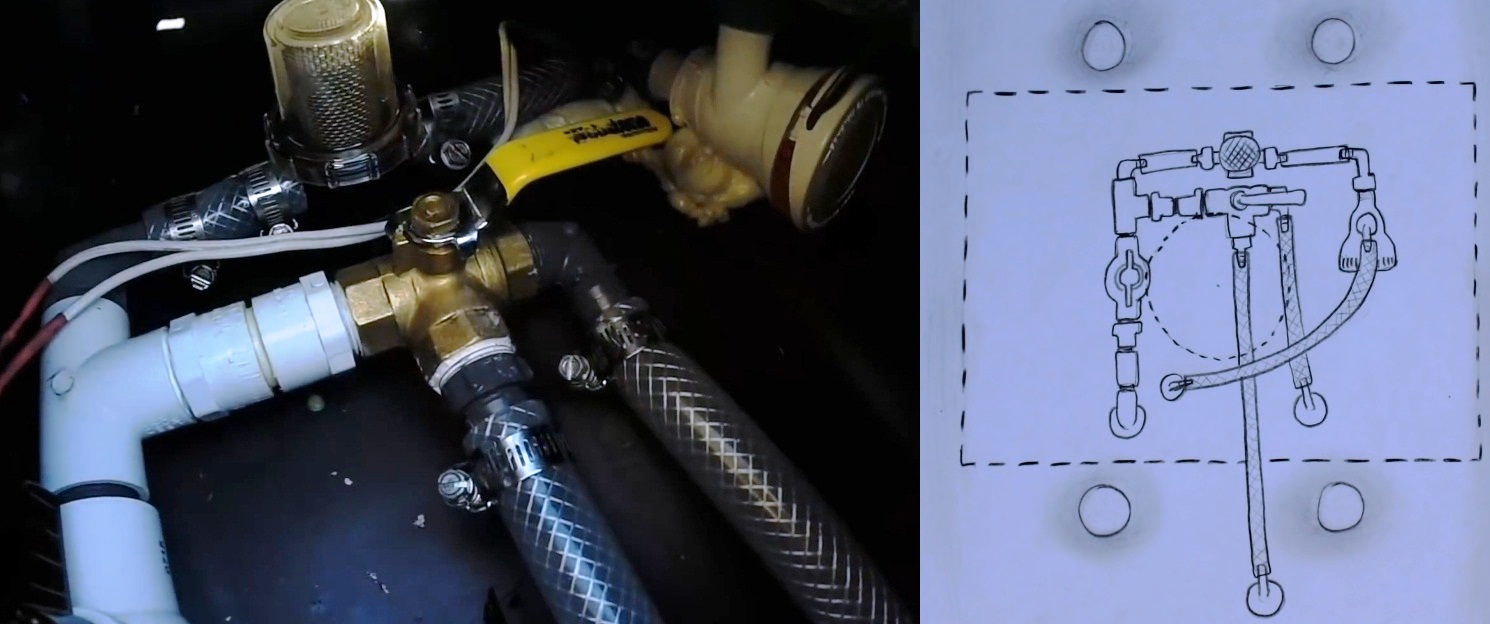
7. Assemble the base of the cooler/ice chest.
Admittedly, it’s a bit of a challenge to make the cooler portable, detaching it easily from the kayak without causing any hassle (i.e. leaks, drips, etc).
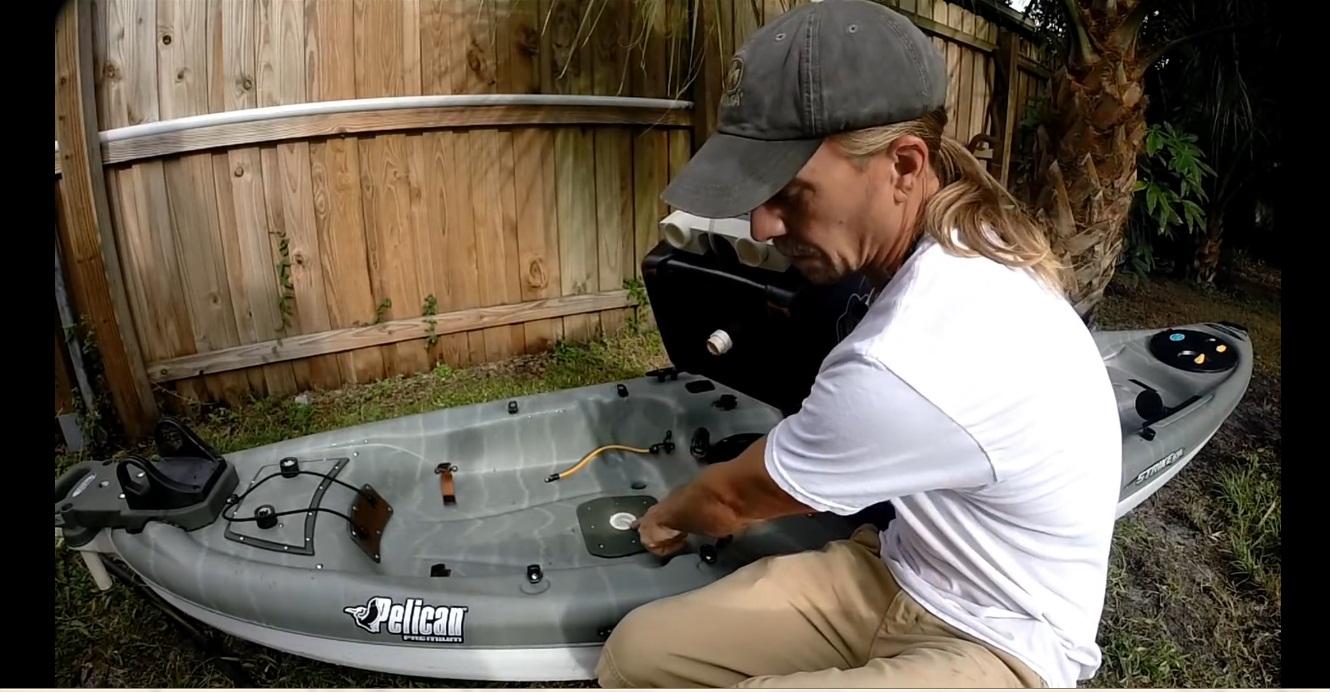
Important Tip: To get away with unwarranted issues, make sure each part perfectly fits unto the other. You should also put in marine adhesive sealant unto it to enhance safety and rigidity.
8. Design the inner bucket.
Since he had a rectangular ice chest, he needed to make it round so the fish can move around and not be caught in the corners as this could, according to Zoffinger, could cause the bait fish to die.
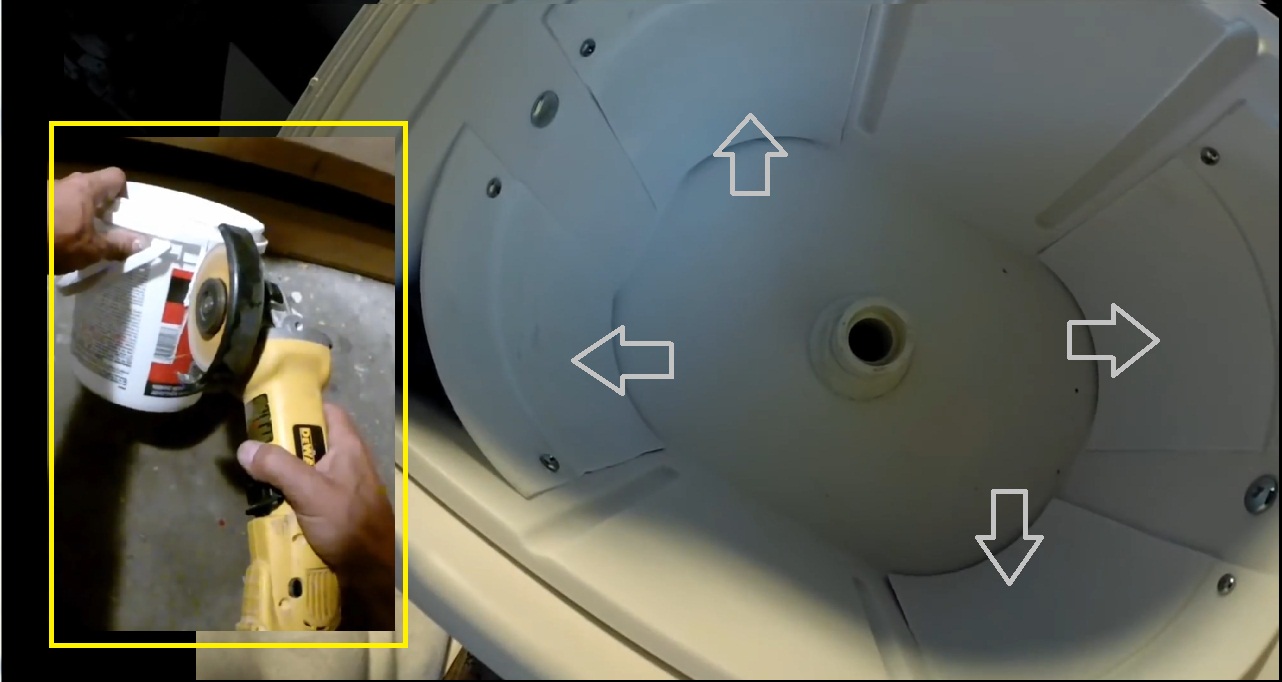
Similarly, it is important to create four different length sizes of tubes (for the strainer) to be used for various water levels inside your DIY livewell.
You may opt to use a round cooler/container to eliminate this step.
Voila! You now have a DIY fish livewell or bait tank that is ready to go on your kayak for a whole day of fishing!
Watch the full kayak livewell tutorial video:
Special thanks to Marty Zoffinger, his brilliant ideas, solid workmanship, and excellent DIY livewell designs, not to mention his well-thought and entertaining video tutorial. Hats off, buddy. Kudos!
Subscribe to his YouTube channel and learn a lot from him and his paddle fishing experience.
P.S. – If you think that your friends or fishing networks would also like to learn from this DIY Kayak Livewell and Bait Tank Tutorial, please TAG or SHARE this to them.
P.P.S. – If you want more fishing trivia, hacks and tips, tournament updates, and the top saltwater fishing tips every week, the be sure to join the 50,000+ anglers that are Salt Strong members.
Click Here to join the “Salt Strong” Tribe today.
Related categories:
STOP WASTING TIME ON THE WATER!
Do what the “SMART ANGLERS” are doing and join the Insider Club.
Here’s what you’ll receive today when you join:
- Weekly fishing reports and TRENDS revealing exactly where you should fish every trip
- Weekly “spot dissection” videos that walk you through all the best spots in your area
- Exclusive fishing tips from the PROS you can’t find anywhere else
- Everything you need to start catching fish more consistently (regardless if you fish out of a boat, kayak, or land).




In my experience fishing from a Tracker boat I would like to suggest one addition to this great design. A strainer would be of great benefit on the intake. I lost my pump due to it sucking in trash. Thanks for this valuable info.
This is a awesome video for fitting a live well. I wanted to add that check your area for Marine Supplier’s or Pipe Supplier’s for the L-Valves.
Also I wanted to ask “not that it should ever happen” I just wonder if there is a way to add one more fitting and valve to allow the bilge itself to pump out should the kayak gets compromised in any way. Just as a fail safe.
Kudos!