Want to learn the best way to spool a spinning reel?
There are many ways to do it, including getting a store to do it for you, but I’m going to show you how to do it yourself and avoid the most common mistakes that many anglers make when spooling their reels.
Most of these mistakes can lead to you getting more line twists and wind knots when you’re fishing, so you’re better off doing things the right way from the start.
Watch the video below to learn:
- How to spool your spinning reel by yourself
- The common misconceptions to spooling spinning reels (that I believed for many years)
- How to save money on braided line
- How much line to put on your reel
- And much more
Enjoy!
How To Spool A Spinning Reel [VIDEO]
 Click here to join the Insider Club
Here’s what you need to spool your spinning reel (in addition to the line, rod, and reel):
- Mono backing line (within 10 lbs of your braid strength is recommended)
- Scissors
- A wet towel or washcloth
- A pencil
- A narrow cardboard box (or someone to hold the spool)
Now before we get going, you might be asking yourself why mono is on the list if you’re spooling your reel with braid.
Here’s why: braid doesn’t grip into the arbor (the center of the spool), so if you tie braid straight onto it and you have a big fish on, the line might free spin and you could lose your fish.
Monofilament does grip into the arbor, so the best way to combat this is to have a base of mono line on the arbor.
Plus, even the small reels like the 2500 series can hold a LOT of line, so it’s smart to fill up some of the spool with the much less expensive mono line knowing that it’ll likely never see the light of day.
Alright, now let’s get into the steps.
Step 1: Thread the monofilament through the top eye.
Step 2: Tie an arbor knot to connect the mono to the arbor.
Note: This knot isn’t very important because its job is only to start creating friction on the reel’s arbor. None of the “Arbor Knots” are very strong, so you should never let a fish pull the line out all the way down to this knot because you’ll end up losing all of your line out into our waterways… instead, just grab the spool when you realize that you can’t turn the fish so that no more line can go out should palm the spool before a fish takes all of your line out (video lesson on this here)… either your hook will straighten or your line will break at the leader 99% of the time so you’ll at least prevent your line from getting dumped into the water.
Step 3: Set up the spool of mono so that it can spin vertically around a pencil with the help of a friend or simply using a box to hold it as shown in the video.
And a key thing to keep in mind here is that you need to have tension on the line as you’re reeling it in — this will decrease your odds of getting wind knots down the road.
To do this, grip the line with the wet rag and apply pressure to it as you’re reeling in.
Step 4: Tie the mono backing to the braid.
I like to use a double uni knot here (5 turns with the mono and 10 turns with the braid).
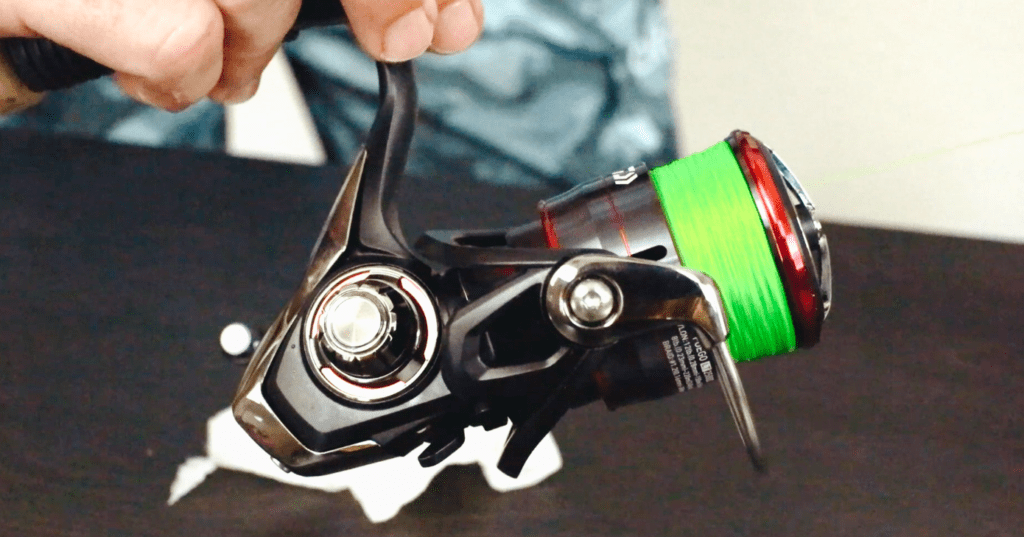
Step 5: Reel the braid onto your spool just like you did with the mono backing.
Again, don’t forget to use a wet rag to apply tension on the line as you’re reeling it in.
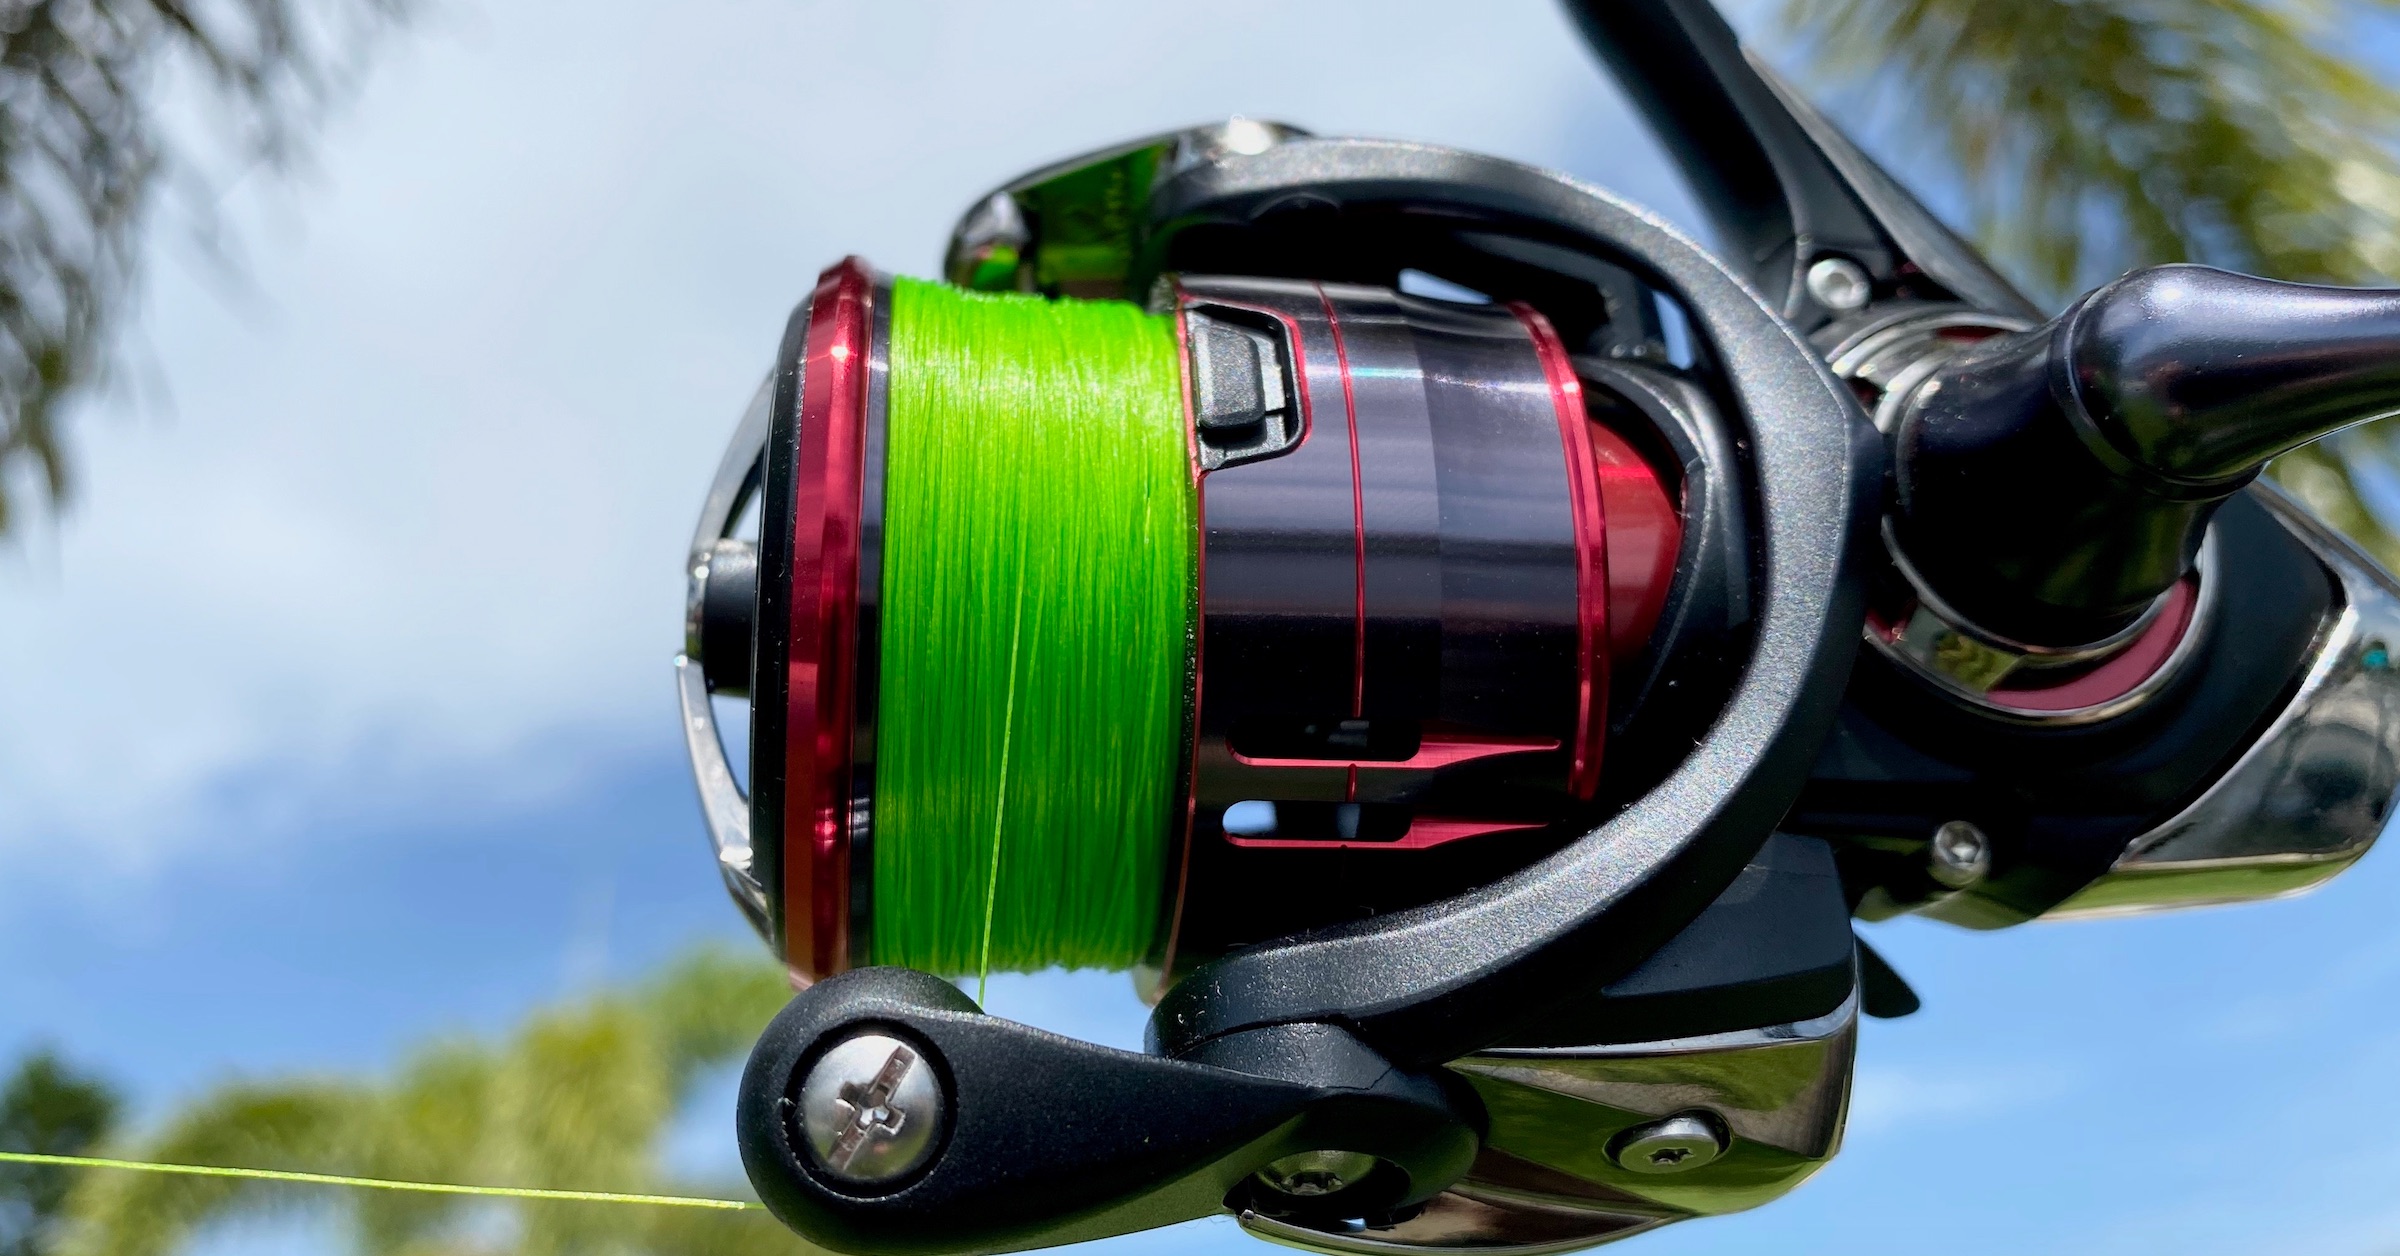
When the line is about 1/16″ away from the top of the reel, you know you’ve put enough braid on.
If you put too little braid on, you’ll inhibit your casting distance, and if you put too much on, you could be more susceptible to wind knots.
How To Save Money On Braided Fishing Line
There are many benefits of using braid, however, it is considerably more expensive than mono.
Here’s a quick tip to make the most of your line:
Once you’ve spooled your reel, go to a park or beach and walk out 100 yards of it.
Then, walk back to your reel, cut the line, and retie it with a double uni knot with 10 turns on both sides.
Since braid lasts for many years, whenever you need to re-spool, you don’t need to touch the line after the knot.
You’ll only have to put on 100 yards to the top, so if you get a 300-yard spool, that will last you for three re-spools which can save you a lot of money over the years.
Conclusion
Although you could have a store spool your line, by doing it yourself you can make sure that you’re less likely to get line twists or wind knots, and you can set up a system that helps you save money on braid in the long run.
Have any questions about spooling braided line onto your reel?
Do you do it any differently?
Let me know in the comments below!
And if you know someone who needs to learn the best way to spool their line, please TAG or SHARE this with them!
P.S. Want access to our best fishing spots and tips, plus discounts to our online tackle store? Click here to join us in the Insider Club!
Stop Wasting Your Valuable Time On The Water!
Do what the “SMART ANGLERS” are doing and join the Insider Club.
Here’s what you’ll receive today when you join:
- Weekly fishing reports and TRENDS revealing exactly where you should fish ever trip
- Weekly “spot dissection” videos that walk you through all the best spots in your area
- Exclusive fishing tips from the PROS you can’t find anywhere else
- 20% OFF ALL of your fishing tackle (rods, reels, line, lures, and more from ALL of the biggest brands in America)
Click here to join today.
Related articles:


Great tutorial. Love the tip about walking out 100 yds and then retying with uni. What size cardboard box do you recommend!? JK!
I have a question here, if understood correctly I can add line, Braid to Braid with a Uni Knot to filled up my reel. Got one reel almost halfway down and I got some Braid left that I could use.
Yes, you can add braid using a uni knot as long as there is enough line to fill to the point where the knot is fully covered by line for a full cast (if it gets exposed during a cast, it can cause issues with casting.
Got it and Thank You.
Dang Luke, I think I can do this! Took me 5 months to learn the FG knot, now I think I can do re spooling myself and save some money! Thanks, man!
Glad to see that you enjoyed this lesson.
It’s awfully nice to know the correct way to do this. Up to this point I’ve just peeled it on.
I don’t know if you’ve noticed, but the Trilene mono and Zebco mono come off the spool clockwise with the label facing up, whereas PowerPro and Yo-zuri Super Braid come off counterclockwise with the label up.
Great video, I have reversed it in the past and it seems to work ok. I will now be using this method! Thank you for the great method for spooling your line!
Have you ever reversed the braid after months of use.
Yes. I often have my 2nd tier reels which is set to have about 100 yards of braid in them, so they get the used lines from my primary setups.
Just a good review. We need a trick for using the almost empty braid we have left. May put that on next reel just less mono. I have never done a braid to braid knot but looks like with 10 twists it should work. Know I just need an excuse to purchase another new reel.
Yes, the 10 count for the uni knot when doing the twists is good for braid. As for what to do with the remaining line, that all depends on how much is left. If it’s under 100 yards, then it’s tough to use that for another setup unless it’s for smaller fish (I generally like to have at least 100 yards of topshot braid without any knots in it because any line to line knot that’s not buried by a lot of line will cause a bulge in the spool which can cause frustrating wind knots while casting.
why are some reasons you wouldnt want bass pro to spool your reel with the machine ? – thanks
The process shown here results in the straitest line as it goes through the guides during a cast since. The line spoolers certainly work great, but they do result in some half twists in the line due to how it gets loaded onto the spool. That being said, braid line can handle a good amount of twists before any issues arise, so the bulk loaders are certainly ok to use.
I just bought a new Penn Fierce III Live Liner 6000 spinning reel which has a rubber gasket around the center of the spool to allow tying braid directly without slipping. Given this, I plan on tying the 300 yards of 50-lb Power Pro Super 8 Slick V2 braid directly to the rubber gasket. Why even use a monofilament backing? (other than mono is less expensive). I plan on adding a 40 lb mono top shot and/or a fluoro leader depending on the situation.
When a reel has the rubber gasket, the only benefit of adding mono on the bottom is to save money given how much less per quarter inch of spool mono is relative to braid.