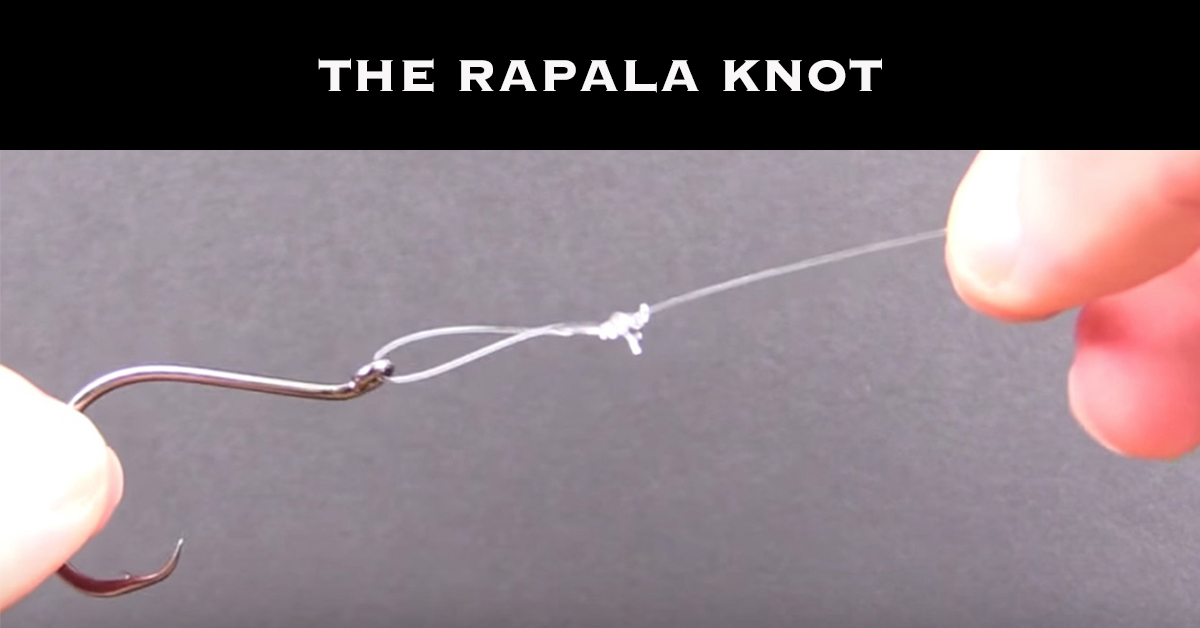
The Rapala Knot
The Rapala Knot is an incredibly strong loop knot for artificial lures and hooks. It is the strongest loop knot that we’ve ever tested and holds our number one ranking for loop knots to know how to tie.
This knot is also a bit more difficult to tie than other loop knots with similar strengths and leaves a tag end that sticks up — which can collect weeds and debris in the water.
Still, there is no denying its’ strength and this is a great knot to know how to tie — especially when going up against big fish.
In this article, I go over the step-by-step process on how to tie the Rapala Knot and show you how to tie it in real time in a video tutorial.
Learn more about the Insider Fishing Club
The Rapala Knot Step-By-Step Instructions
Here are the instructions for each step to tie the Rapala Knot to your fishing hook.
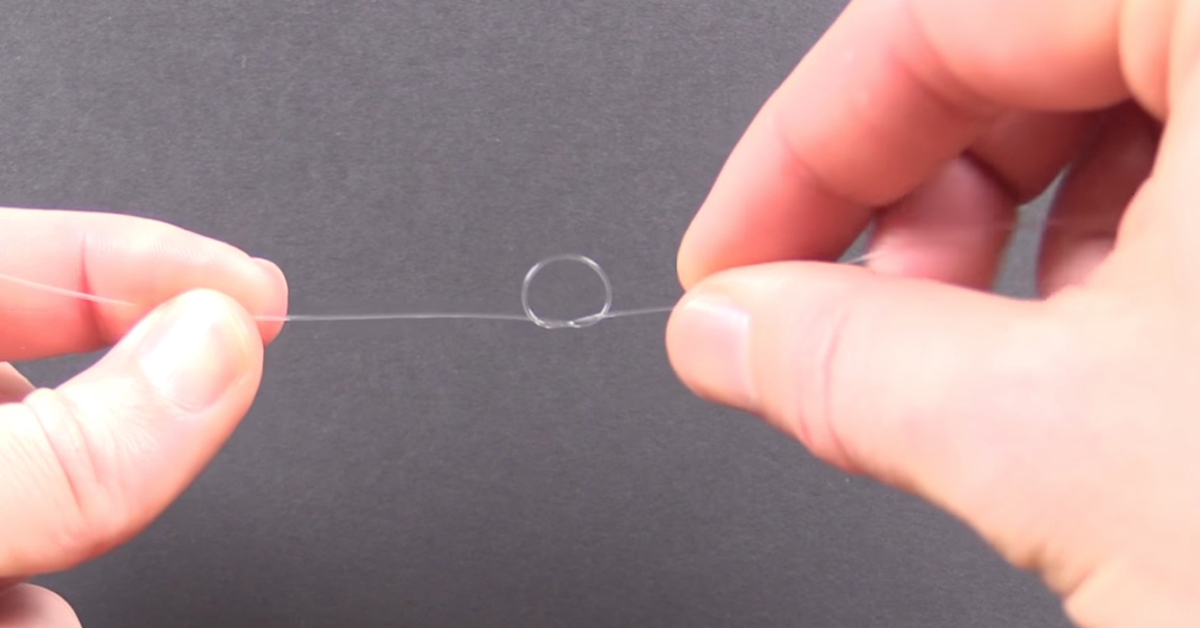
Step 1: Make an Overhand Loop
Make an overhand loop about two to three inches above the tag end of your line.
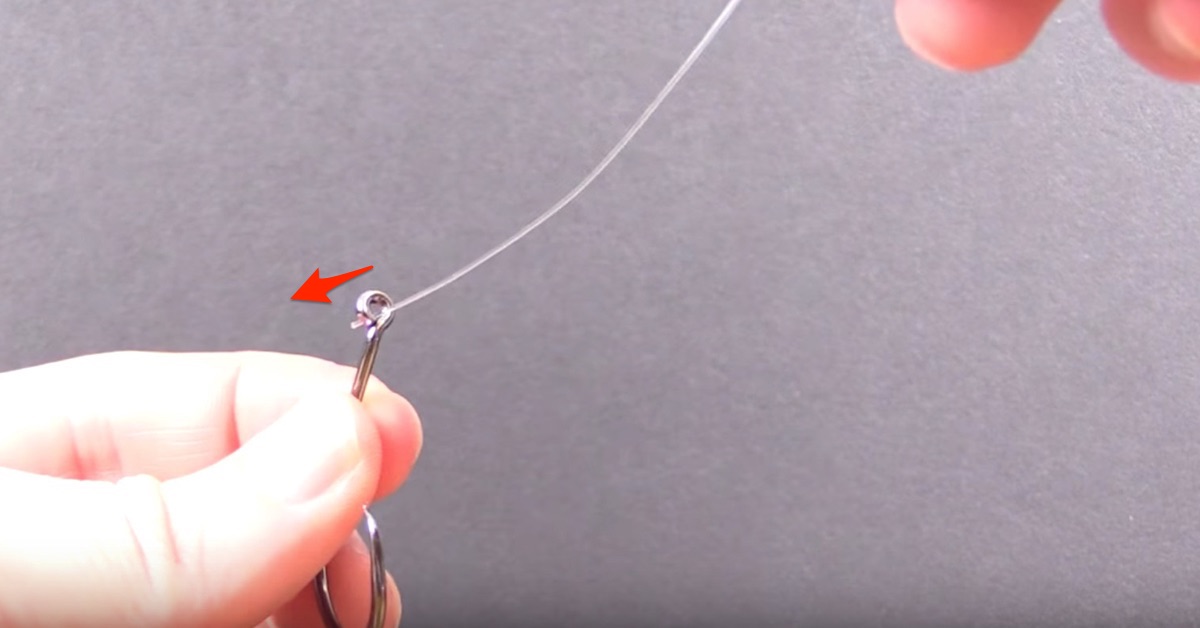
Step 2: Thread the Tag End of Your Line Through the Hook Eye
Thread the tag end of your line through the eye of your hook or lure.

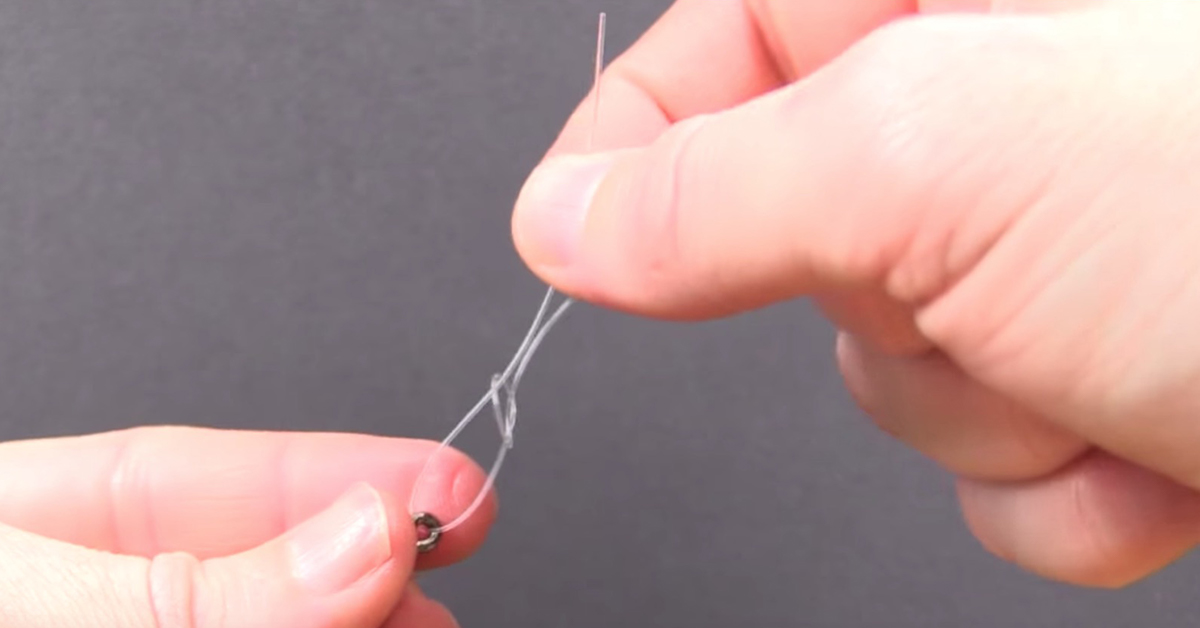
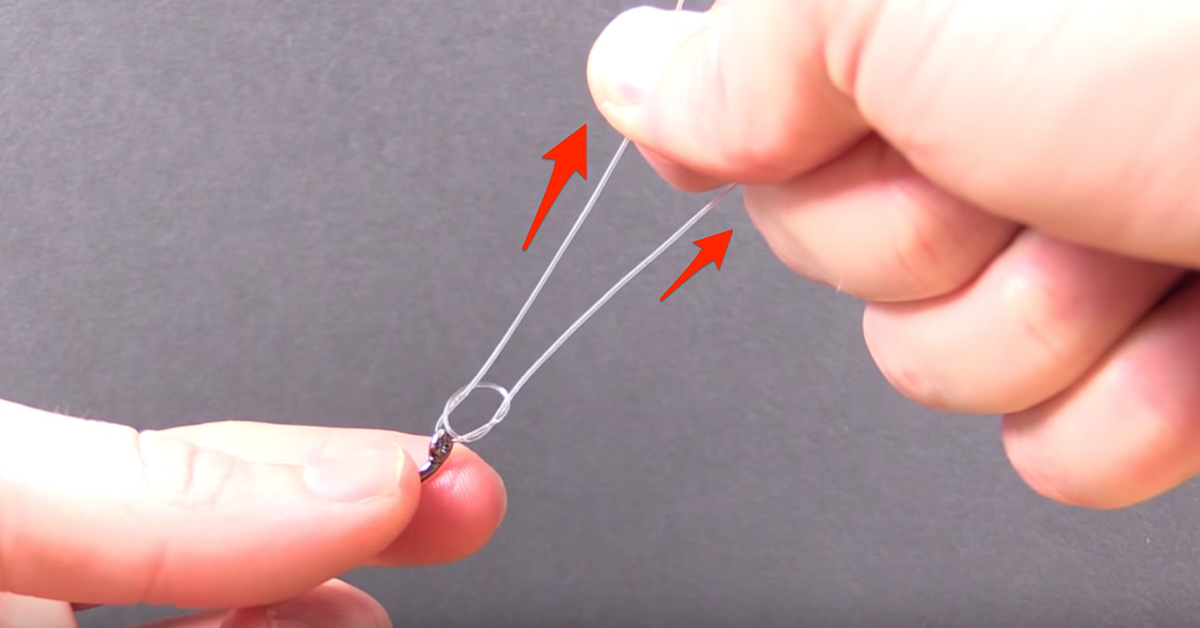
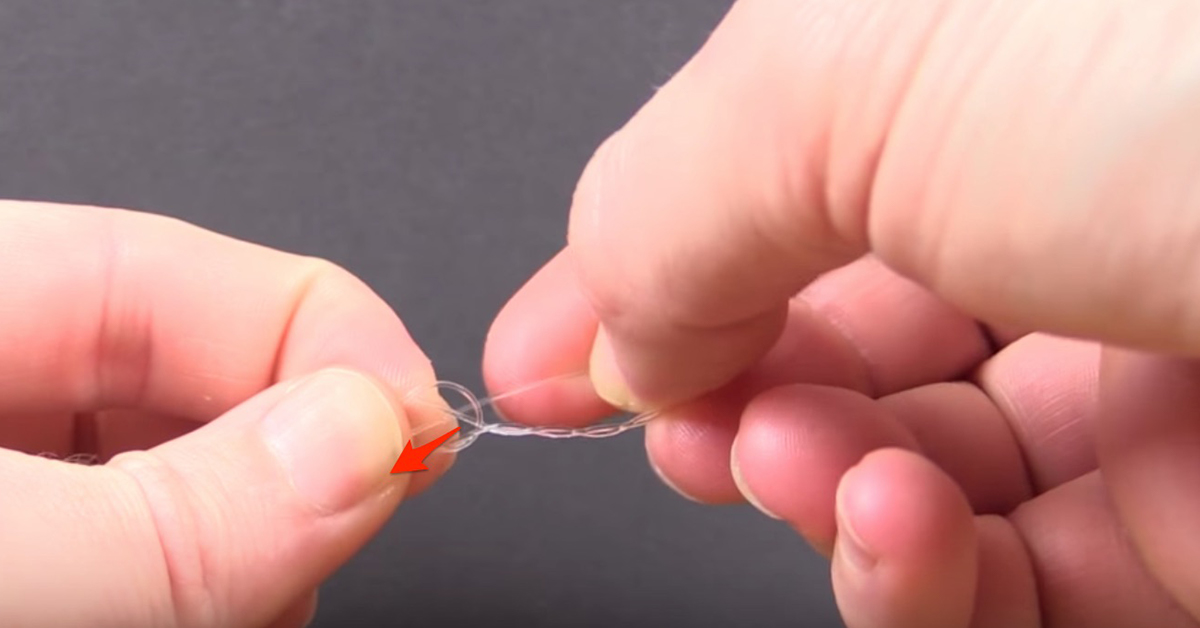
Step 3: Pull the Tag End of Your Line Through the Overhand Loop From Step 1
Pull the tag end of your fishing line through the downward-facing side of the overhand loop you made in Step 1. Pinch the tag end and mainline between your fingers and pull them both so that the overhand loop slides down to the hook eye. Pinch the loop with your fingers.

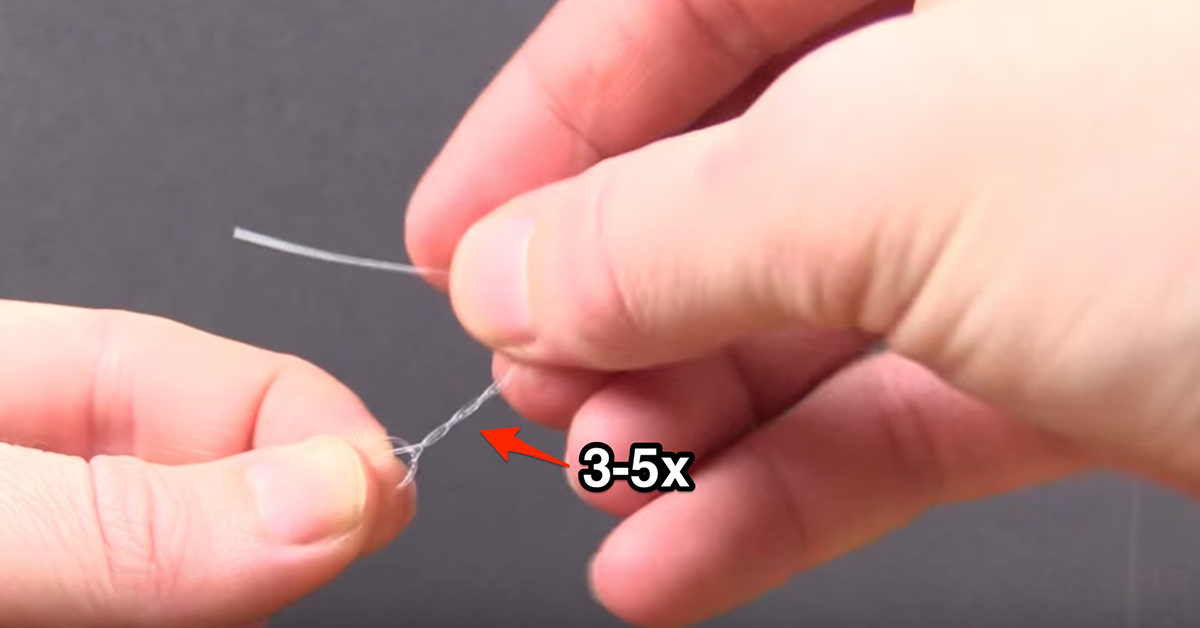
Step 4: Make 3-5 Wraps with Your Tag End Around the Mainline
Take your tag end of your line and make three to five wraps up and around the mainline.
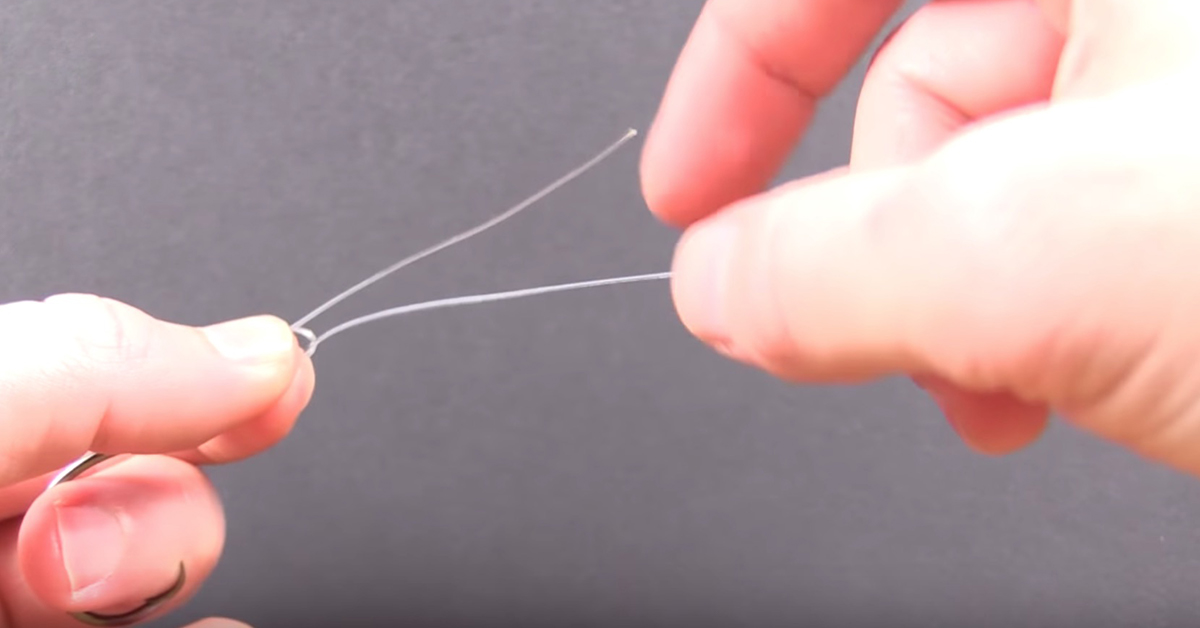
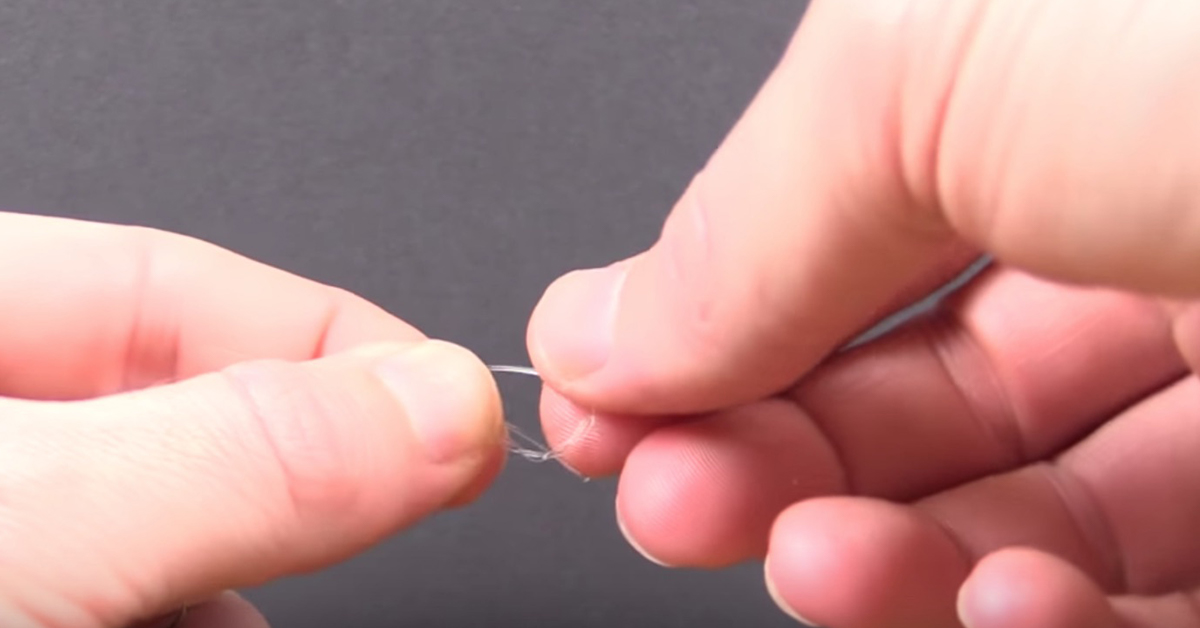
Step 5: Put the Tag End of Your Line Up Through The Bottom-Facing Side of the Overhand Loop
Put the tag end of your line up through the bottom-facing side of the overhand loop you made in Step 1. By doing this, you should create a new loop above the original overhand loop.

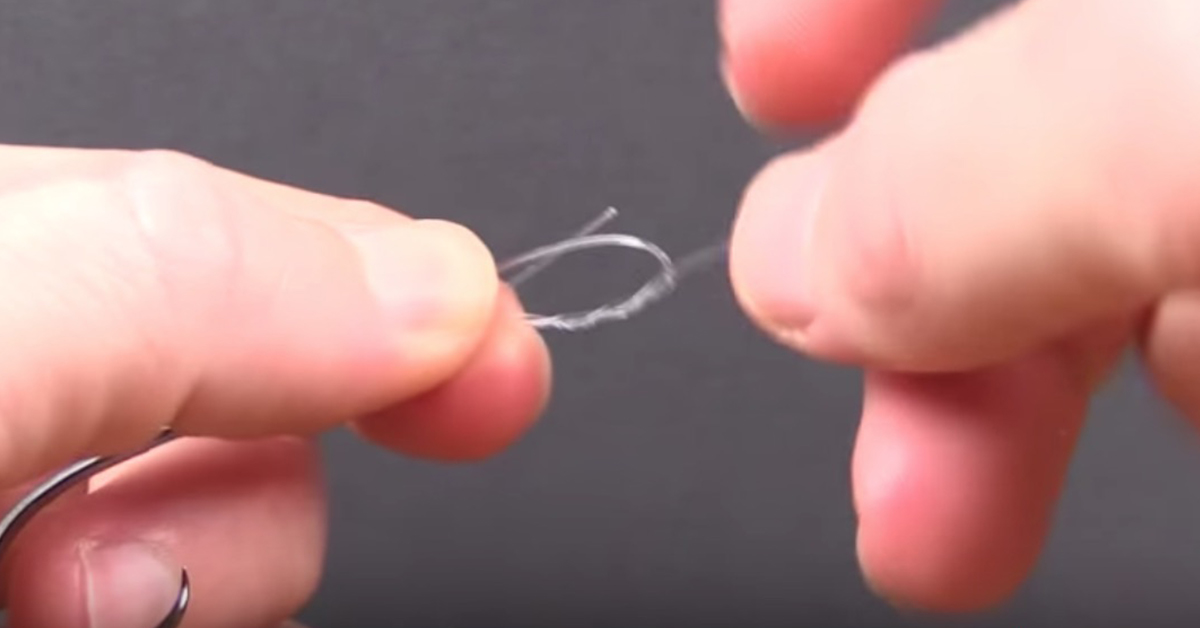
Step 6: Put the Tag End Through the New Loop You Made in Step 5
Take the tag end of your line and put it through the new loop, above the overhand loop, that you made in Step 5.
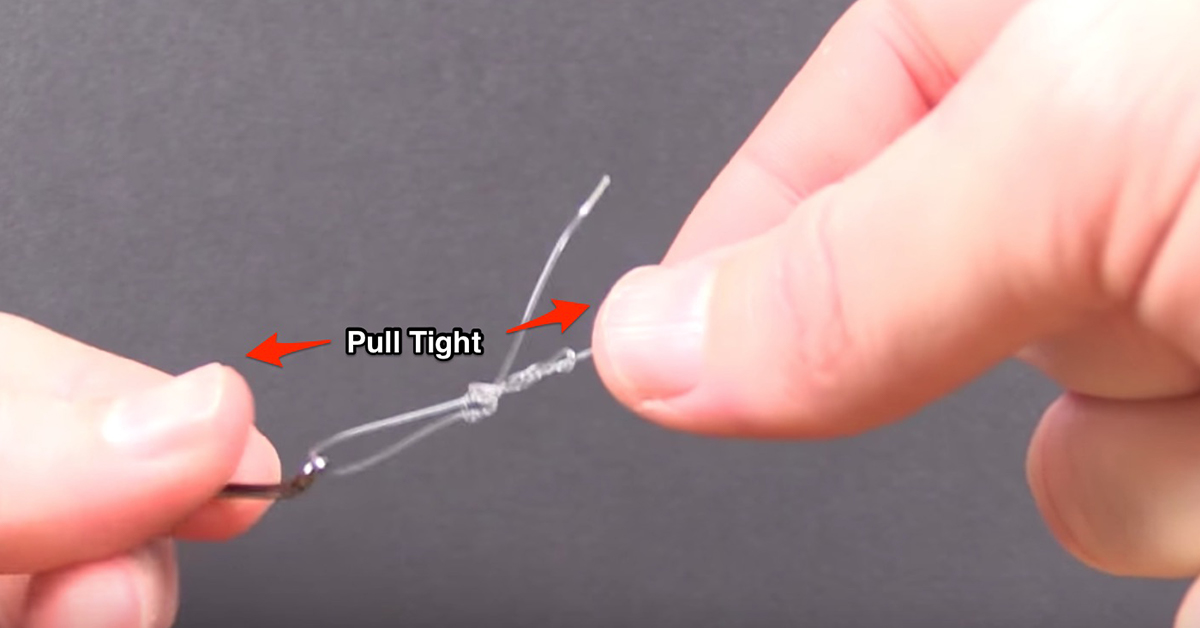
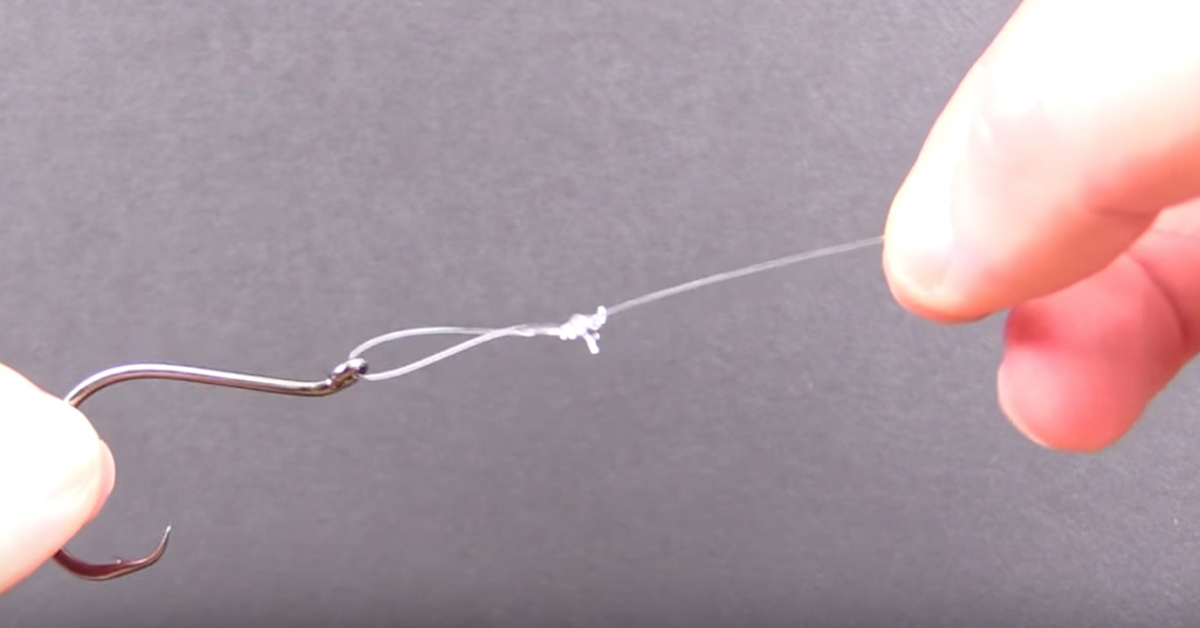
Step 7: Pull the Knot Tight and Cut the Tag End
Pull the tag end and mainline tight in one direction while simultaneously pulling the hook in the other direction. Let go of the tag end and wet the knot before pulling the mainline and hook in opposite directions to make the knot as tight as possible. Cut the tag end of your line. Your Rapala Knot is complete.

The Rapala Knot Video Tutorial
This video shows you exactly how to tie the Rapala Knot to your fishing hook.
Conclusion
While the Rapala Knot is a bit more complex than other loop knots, it’s unchallenged in its strength and remains the strongest loop knot we’ve ever tested and used.
It’s definitely worth learning and can give you an extra knot boost when you are targeting big fish that like to break fishing lines.
If you want to learn more about the best fishing knots, check out our guide to the strongest fishing knots of all time.
If you have any questions or comments about the Rapala knot, let us know in the comments section below.
Tight Lines!
Go To Our Knot Testing Homepage [Full Knot Rankings]
Related Posts:
1. How to Tie the Blood Knot [Video & Picture Tutorials]
2. How to Tie the Non-Slip Loop Knot [Video & Picture Tutorials]
3. How to Tie the Albright Special Knot [Step-by-Step & Video Tutorial]
Then you’ve got to see this private fishing club! Here’s what you’ll receive today:Do YOU Want to Catch More Fish this Summer?
Click here to join today.


It took me a few tries to get this knot. I was pulling way to hard on my leader line and when I relaxed a bit it fell into place. What a great video! What a great community!!I get to fish in Florida hopefully once a year and I get pretty much skunked every time. This year I feel empowered ! I cant wait to get on the water!
OOOps , this was supposed to be on the FG Knot!
So glad to see that you’re enjoying the knot lesson videos!
I’ve lost at least 8 lures in the past 3 days. The first one was a tree that ate my lure and that knot was so strong it snapped the line off. Then, it was getting dark and my eyes are not good. I tied another lure and cast. That puppy sailed! It was my longest cast since I got this rod. I smiled with delight and started to snug the line. The line never snugged…… the lure flew off the line. The others were similar. The knot doesn’t hold under test, or it was never tied correctly to start. What a frustration indeed. Loved this video. Love all the videos so far! Thank You.
It seems to me that you are tying the Rapala Knot differently than presented in Rapala’s procedure. What I am about to say may seem insignificant, but my experience shows that small procedural changes can greatly influence a knot’s performance.
In step 3 of your procedure, you state, “Pull the tag end of your fishing line through the downward-facing side of the overhand loop you made in Step 1.” If I’m understanding correctly, the tag end is entering the overhand loop the same way it previously exited, but in the opposite direction. If this is the case, then this is different from what is shown in the Rapala website procedure. See the Rapala website procedure here: https://www.rapala.com/content/rapala-product-info/sufix-knots.html.
Per step 2 of the Rapala website procedure, the tag end should enter the overhand loop on the side opposite from which it previously exited. Using your terminology, the Rapala website procedure has the tag end entering the upward-facing side of the overhand loop.
Another difference occurs in step 5 of your procedure. You state, “Put the tag end of your line up through the bottom-facing side of the overhand loop you made in Step 1.” Per step 4 of the Rapala website procedure, the tag end should enter the upward-facing side of the overhand loop.
I don’t know whether the differences between your procedure and the Rapala website procedure will affect knot strength. I would be very interested in knowing if there is a difference. If there is a noticeable difference in strength, it would be worthwhile informing your readers how a small change in how a knot is tied can influence its strength.
I also would like to know if these differences during the procedure will affect the knot strenght
Agree with Steve. Rapala ties this in step 3 through the upward facing side of loop. Would be great to see this tested, if it makes any difference.
How does the strength of the Rapala knot compare with the uni loop knot as used by Roland Martin?
The uni knot is stronger than loop knots…. it just can be a pain to have to keep sliding the uni knot up after tension slides it down.
Looks great with the tag laying back and easy to tie.
Hi guys, when speaking of “ the downward or upward facing side” of the overhand knot when tying the Rapala Knot I dont really see what you mean. It looks like one “hole” to me. I know the main line goes up through the overhand knot after putting it thru hook or lure, and then down thru the hole after the 3 or 4 twists but that’s all I can see. I can’t determine upward or downward when watching your videos. And I’ve watched them over and over. I do manage to get the knot tied most times but still want to know the difference. Maybe a video with bigger line or colored rope would help. ??? Thx. Still learning Sue Mc.
Pause the video at the 0:40 mark, and you should be able to see that the top of the loop is on the left side of the mainline, and the bottom of the loop is on the right side of the mainline (so the loop’s open face is at a downward angle relative to the mainline). That is why I threaded the tag end from the left side while going up to make the twists, and then I threaded it from the right side when going back down towards the hook.
Note: Here’s what I recommend using in place of the Rapala knot: https://saltstrongdev.wpengine.com/articles/non-slip-loop-knot/
I have tried many loop knots on Rapalas and the issue always ends up that they break where the loop wears against the lure eye, the loop gets pulled straight trolling and the eye of the lure wears the line gradually and when a fish breaks off its always at that point. I switched to duolock snaps a long time ago for lures they are super light so they dont affect the action of the lure and great for the ability to switch lures. My two cents.
I’ve found that small nylon cord is a great material for demonstrating knot tying techniques. It comes in assorted colors, making it easy to see. And it cinches down well, much like fishing line. Using different colors when tying line to line knots is very helpful. Here is a link to what I use: https://www.hobbylobby.com/Beads-Jewelry/Bead-Stringing-Chains/Bead-Cord/Assorted-Nylon-Cord/p/80888784.