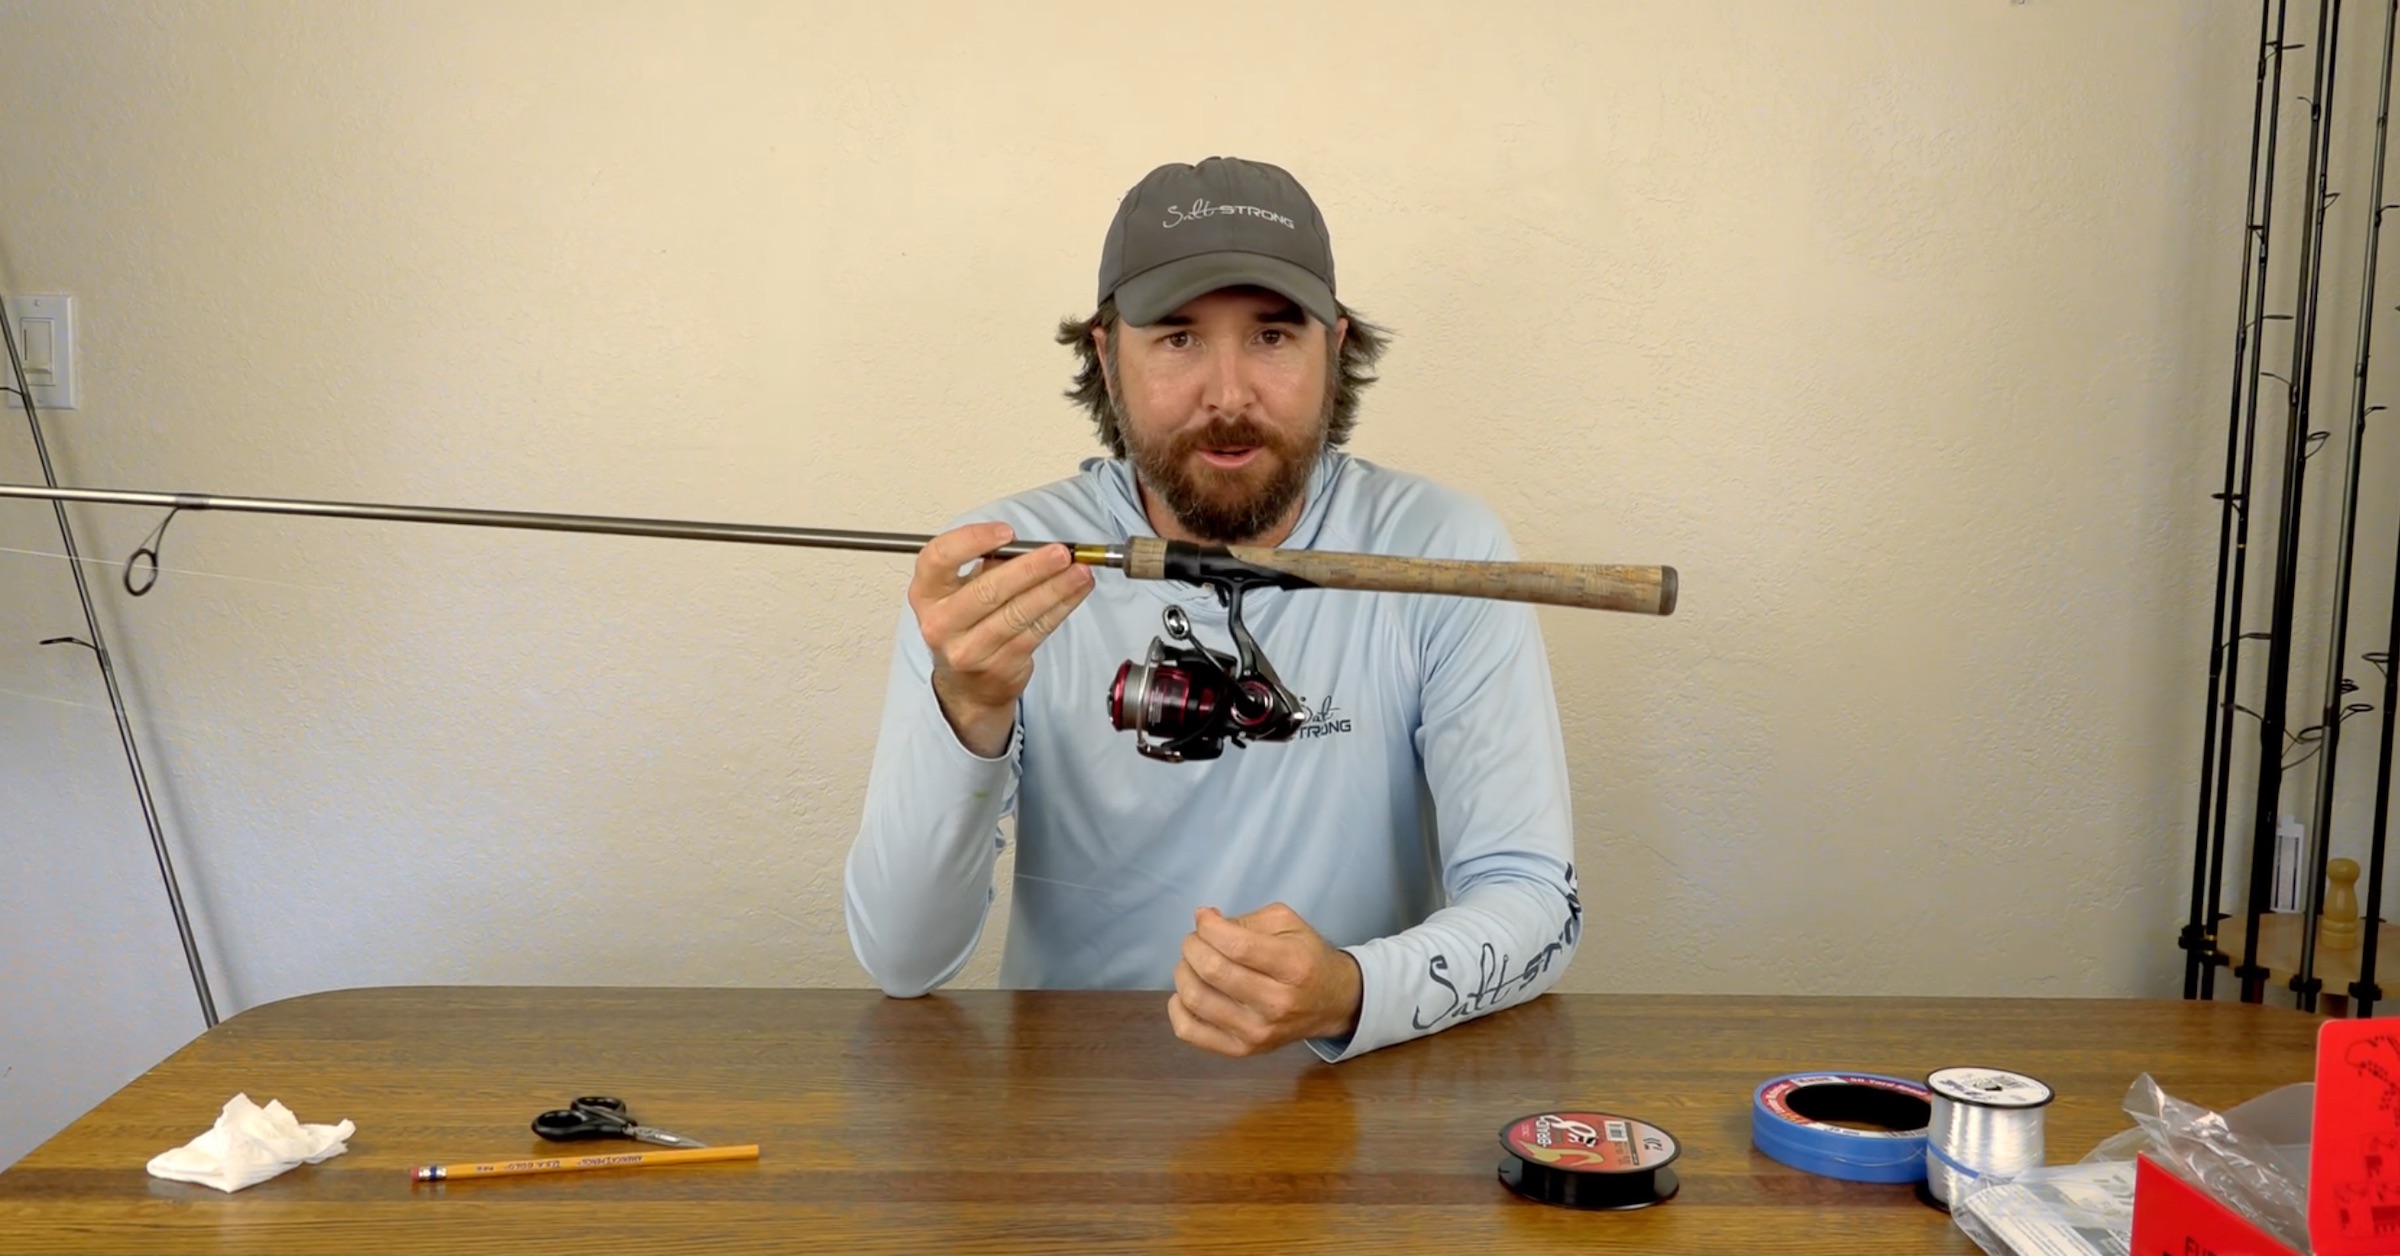
This lesson shows exactly how to spool up the Ultimate Inshore Spinning Combo that we just started offering for inshore fishermen to get an excellent combo at a great price.
Many fishermen rely on tackle shops to load line onto their reels, and I highly recommend doing it all yourself because you’ll save money and you’ll be able to it better than them if you simply follow the directions shown in the video below.

Not only will you have spool the lines so they have less twists than a store-spooled reel, you’ll see an easy trick to make sure you put just enough backing on the spool so that you can fit exactly 150 yards of braid on top of it.
Spooling Line On Spinning Combo
Click on the video below to see the entire process of building out the full spinning combo from start to finish. Here’s a list of the topics by time in case you’d like to skip around:
- Putting reel on rod – 1:50
- Spooling Equipment Needed – 2:30
- Attaching mono backing – 3:45
- Loading mono backing – 5:44
- Line gap trick – 8:00
- Tying braid to backing – 9:20
- Loading exactly 150 yards of braid – 13:25
 Get the Ultimate Inshore Spinning Combo
Equipment Listing
Here’s a list of the individual items shown in the video above that are part of the Ultimate Inshore Spinning Combo bundle.
- Rod: TFO Pro S – 7’6″ Medium Power
- Reel: Daiwa Fuego 2500D-XH
- Backing: Ande Mono – 10 lb
- Mainline: J-Braid 8 Grand – 10 lb
- Leader: Ande Mono Leader Spool – 20 lb
- Scissors: Salt Strong Rigging Scissors
Related Items
Here’s a list of additional topics that link to helpful lessons on each topic in case you need help/guidance on finishing up your line to lure assembly.
- Best braid mainline to leader knot – FG Knot lesson
- How long should the leader line be?
- Best knot for connecting to a lure – Non-Slip Loop knot
Conclusion
Nobody cares as much about our fishing equipment as much as we do, so it’s on us to make sure we select the right equipment and that we put everything together the right way.
Once I started using these items and assembling them together as shown in the video above, my fishing has significantly improved in terms of casting distance, fish catching, and getting less wind knots.
I hope you give the lessons above a try.
Please leave a comment below if you have any questions from this lesson.
And please use the Comments section below to share any other helpful tips for spooling line onto a new reel that you have found to be helpful… we’d love to hear from you.
Tight Lines!


What is the best size of x8 braid Redfish in South Louisiana 8lb or 10lb.
Is 6lb x8 to light for Redfish. I just got the Most Popular Inshore Rod, Reel, & Line Combo [Slam Stick] with the Otis 2500 Spinning Reel.
Hello Luke, how often will you replace the line on the reels, also I got some very old lines on my tackle box, what is the shell life of the braid and mono and last but not least my wife got me one of those things that looks like a rod to spool a line on the reels are this any good. that’s Pinterest for you LOL, looking forward to your answer. God Bless.
Luke, I followed your instructions but had a huge problem with the mono developing twist in it so when I cut it off where I was going to tie on the braid, it unwound off the reel in a mess. Stroking out the twist and having my wife keep tension on the mono allowed me to be able to tie on the braid while keeping the mono from coming off the reel. How in the heck were you able to do this so seemingly simply in the video??
Bill
Luke, 2 questions. does it matter what mono test I use for backing. I don’t have any now, so I’ll just get what’s recommended. Also, why not the FG knot on the backing to braid? Why the Dbl Uni? I think you have convinced me to do them myself.
I like using a backing that is at a slightly higher strength rating.
You can use tye FG knot as long as the backing is at least as strong as the braid (ideally stronger).
I vote for the first option,that way any serious fisherman should learn to do it for the satisfaction,but you are still coming out great
Great tutorial, I was not aware of using a backing when spooling braid. I picked up a few other points as well. Thanks!
So glad to see that you enjoyed this tutorial!
I actually use a metallic sharpie to make a mark on the spool 1/4″ from the edge, so I don’t have to take measurements.
What is the primary purpose of the mono-backing. Is it just to save money so you don’t put an unnecessary amount of braid on the reel or is there another benefit?
Guess I should have scrolled down further in the comments before commenting. I found the other post and the link to the video where you explained it was for cost savings.
thanks for all the info learning something every day be ready when i go to Florida in June 1 to the 7th can’t wait
Do you always use a leader at end of braid and what is your leader normally